Operating Guide
Version 3.3
- SMCR (Accountability UK)
- Compliance
- Risk
- KRIs
- Events
- Registers
- Contracts
- Control Inventory
- Document Library
- Obligations
- Triage PRO
User Operations
Basics
My Summary
Portal / Mobile Device
Useful
Glossary
Managing Operations
SMCR (Accountability UK)
- Work with SMF
- Work with Prescribed Responsibility
- Work with Overall Responsibility
- Work with Committees
- Work with Accountable People
- Work with Certificates
- Work with Submissions
Compliance
Risk
KRIs
Events
Registers
Contracts
Control Inventory
Document Library
Obligations
Triage PRO
Outputs and Records
Dashboards
Reports Charts Adhoc Stats
Record Management
Alerts
Administration
Configuration & Maintenance
- TriLine GRC Configuration
- Configure SMCR Module
- Configure Compliance
- Configure Risk
- Configure KRIs
- Configure Events
- Configure Registers
- Configure Contracts
- Configure Control Inventory
- Configure Document Library
- Configure Obligations
- Configure Triage PRO
Current Tasks
Security
- The Security Centre
- Positions
- Portal Users
- Accountability Only
- Task Teams
- Security Groups
- System Groups
Monitor
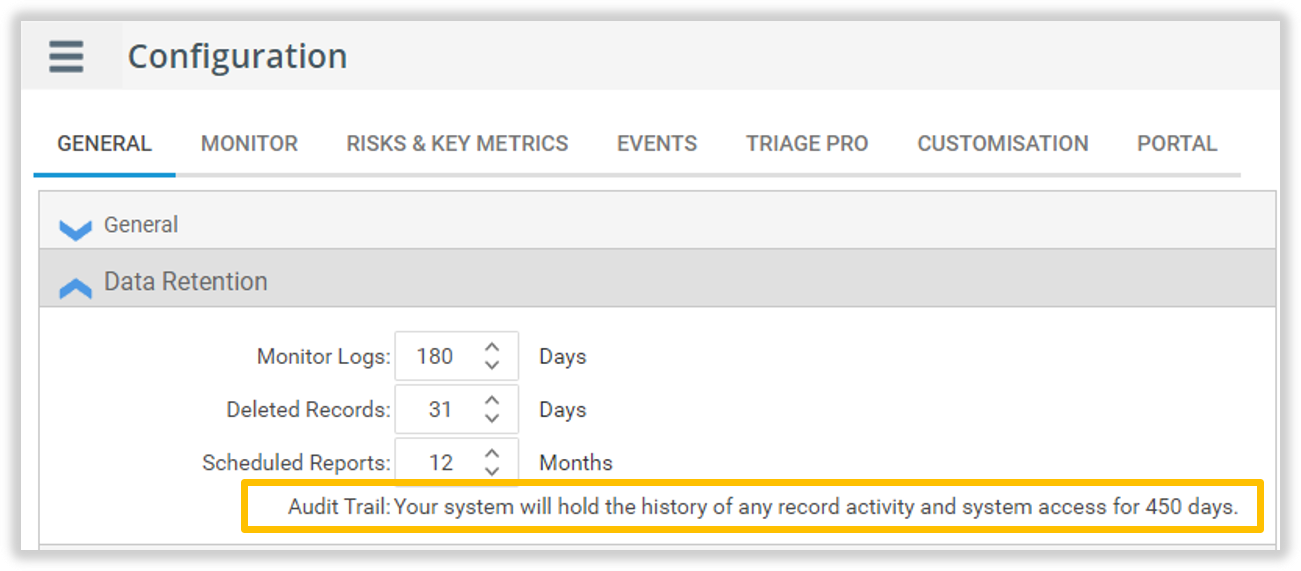
Audit Trail
Current Topic:
Examine the Audit Trail
© 2021 TriLine GRC. All Rights Reserved.


 icon next to the ‘Type’ field and select the type of Audit Trail record to view. The list of Types displayed is dependent on the activity on the system within the Data Retention range.


